
Maintaining a lawn requires regular care and attention. One essential tool for lawn maintenance is a riding lawn mower. Riding mowers provide convenience and efficiency, making mowing large lawns much easier and faster. However, before you ride on a lawn mower for the first time, read this guide, which will take you through the step-by-step process of how to start a riding lawn mower.
Step 1: Safety Precautions
Before we dive into starting the riding lawn mower, it’s crucial to prioritize lawnmower safety. Follow these essential safety precautions:
Familiarize Yourself with the User Manual
Every riding lawn mower has a user manual that provides specific instructions for starting and operating the machine. Take the time to read and understand the manual thoroughly. It will contain valuable information about safety precautions, maintenance procedures, and troubleshooting tips.
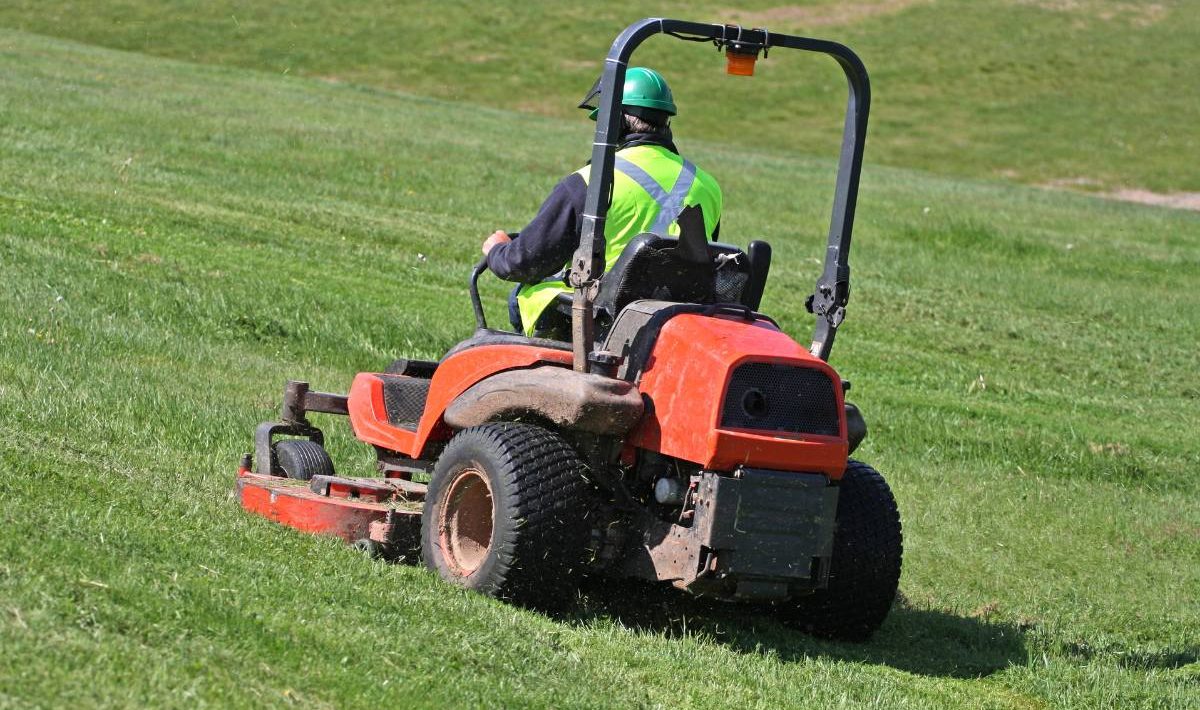
Dress Appropriately
Wear protective clothing, like sturdy shoes, long pants, safety glasses, and ear protection. Do not wear loose clothing as it could get caught in moving parts. A hat and sunscreen is also recommended to protect yourself from the sun’s rays.
Clear the Area
Ensure that there are no obstacles or debris in the mowing area that could potentially damage the machine or cause accidents. Remove any stones, branches, or toys from the lawn before you start mowing. It’s also a good idea to mark any hidden obstacles, such as sprinkler heads or low-hanging branches, to avoid accidentally hitting them.
Disconnect the Spark Plug
For an extra layer of safety, disconnect the spark plug wire before performing any maintenance or starting the mower. This step prevents the mower’s engine from accidentally starting while you’re working on the mower or performing maintenance tasks.
Step 2: Check the Fuel and Oil Levels
Before starting the engine, it’s essential to check the fuel and oil levels of your riding lawn mower.
Check the Fuel Level
Make sure you have enough gasoline in the fuel tank. Consult the user manual for the specific fuel type and capacity required for your mower. It’s a good idea to use fresh gasoline to ensure optimal engine performance.
Check the Oil Level
Locate the oil dipstick, typically near the engine. Remove it, wipe it clean, and reinsert it without screwing it back in. Remove it again and check the oil level. If the oil level is low, add the appropriate type and amount of oil as recommended by the manufacturer. Regularly checking and changing the oil in your riding lawn mower is essential for its smooth operation and longevity.
Step 3: Inspect the Mower
Before starting the engine, perform a visual inspection of the mower to ensure everything is in good working condition.
Check the Tires
Check the tire pressure and ensure they are properly inflated according to the manufacturer’s recommendations. Properly inflated tires provide better traction and ensure a smoother ride while mowing. Adjust the tire pressure if necessary using a tire pressure gauge and an air compressor.
Inspect the Blades

Inspect the cutting blades for any signs of damage or wear. Riding lawn mower blades should be sharp and free of nicks or dents. If you notice any damage or see the mower blades spin when not engaged, replace them or have them sharpened by a professional. Dull or damaged blades can result in an uneven cut and put unnecessary strain on the engine.
Examine the Belts
Examine the belts that drive the mower’s cutting blades. Look for any signs of wear or damage, such as cracks or fraying. Replace the belts if needed to ensure optimal performance and prevent unexpected breakdowns. Regularly inspecting and replacing worn belts can save you from expensive repairs in the long run.
Check the Battery
Check the battery terminals for any corrosion or loose connections. Corrosion can interfere with the electrical connection and prevent the engine from starting. Clean the terminals with a wire brush and baking soda solution if necessary. Tighten any loose connections to ensure a reliable electrical supply to the mower’s components.
Step 4: Start the Riding Lawn Mower
Now that you’ve completed the necessary safety checks and inspections, you’re ready to start your riding lawn mower.
Take Your Position
Sit comfortably on the mower seat, ensuring your feet are on the floorboard and your hands are on the steering wheel. Adjust the seat if necessary to ensure a comfortable and ergonomic position.
Engage the Parking Brake
Locate the parking brake lever or pedal and engage it to prevent the mower from moving unexpectedly. This step ensures your safety and prevents accidents while starting the engine.
Set the Choke and Throttle Lever
The choke and throttle controls are usually located near the steering wheel or on the dashboard. The choke controls the air-fuel mixture during cold starts, while the throttle controls the engine speed. Set the choke to the “Start” or “Choke” position and adjust the throttle to the “Fast” or “High” position.
Insert the Key
Insert the ignition key into the ignition switch, typically located on the dashboard or near the steering wheel. Ensure the key is inserted fully and turned to the “Off” or “Stop” position before proceeding.
Turn the Ignition Switch
Turn the ignition switch to the “Start” position (clockwise). As you turn the key, the engine’s starter motor will engage, cranking the engine. Release the switch as soon as the engine starts. If the engine doesn’t start within a few seconds, release the key to prevent damage to the mower’s starter motor and give the engine a rest before attempting to start it again.
Warm Up the Engine
Allow the engine to warm up for a few minutes. During this time, you may need to disengage the choke gradually to ensure smooth running. Most modern riding lawn mowers have an automatic choke feature that adjusts the air-fuel mixture as the engine warms up. Refer to the user manual for specific instructions on the choke operation and warm-up process for your particular model.
Disengage the Parking Brake
With the engine running smoothly, disengage the parking brake to prepare for mowing. Ensure that the parking brake lever or pedal is released fully and that the mower is neutral. Engaging the cutting blades while the mower is in gear can be dangerous and may result in losing control.
Step 5: After Starting the Riding Lawn Mower
Once your riding lawn mower is up and running, there are a few additional steps to follow before you start mowing.
Adjust the Cutting Height
Depending on your preference and lawn conditions, adjust the cutting height to achieve the desired grass length. Most riding lawn mowers have a cutting height adjustment lever or knob that allows you to raise or lower the cutting mower deck. Refer to the user manual for specific instructions on adjusting the cutting height on your particular model.
Engage the Blades
Activate the blade engagement lever or switch to engage the cutting blades. Ensure that the blades are spinning freely and there are no unusual vibrations or noises. Engaging the blades while the engine is idling will allow them to reach their full speed gradually.
Begin Mowing
Slowly release the brake pedal and gently press the accelerator to start moving forward. Take your time to familiarize yourself with the steering and controls before tackling larger areas of your lawn. Practice turning and maneuvering the riding lawn mower in open spaces before navigating around obstacles or tight corners. Maintain a steady speed while